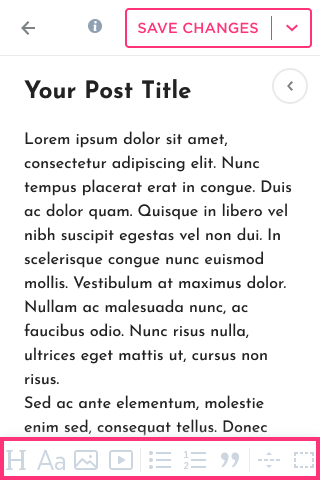
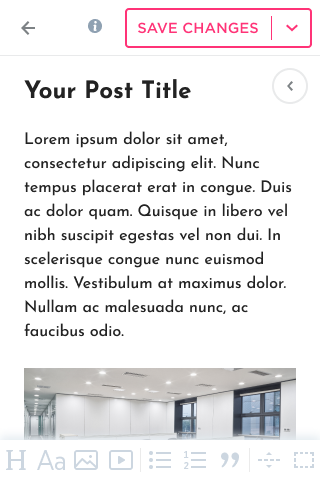
Blog Post Editor Toolbar in Mobile Editor
Once you start typing, a Toolbar will appear at the bottom of the page:
Adding Heading
- You can add Heading by clicking on its icon on the Toolbar:

- Select any text element to edit it via the Toolbar:

Adding Text
- Add Text by clicking on its icon on the Toolbar:

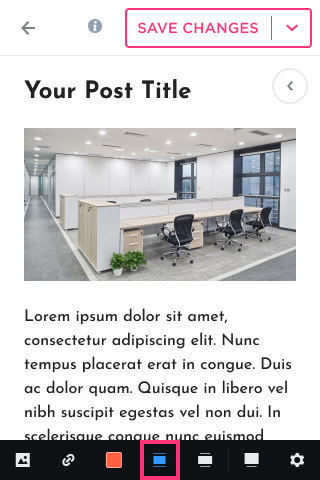
Adding Image
- Add a Photo by clicking on its icon on the Toolbar:

- To upload an image from your smartphone, click inside the Drag & Drop frame, open the Upload dialog, and select the image:


- Replace the image:

- Add a link to the image:

- Link the image to a page on your site, an external URL, a file, an email address, or a phone number:

- Add the Color Overlay to your image:

- Change the Overlay Color:
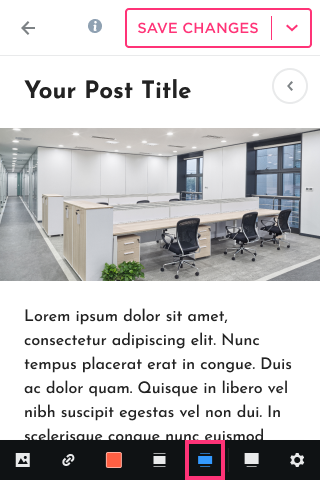
- Choose the desired image size by selecting Default, Wide, or Full.
Default:
Wide:

Full:

Please Note: On the desktop version, this size will be different (stretch to the full width of the screen).
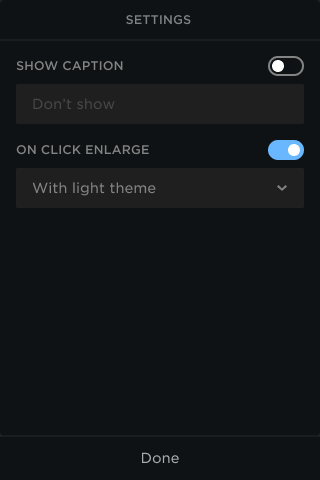
- Use Settings to customize the image:

- Modify the Image Settings: add a Caption, enable On Click Enlarge to allow visitors to view the photo in full size on the live website:
- Click on the image to move, duplicate, or delete it in the appeared Toolbar:

Adding Video
- Add a Video to your blog post by clicking on its icon on the Toolbar:

- You can edit a video by clicking on it:

- Choose the desired video size by selecting Default or Wide.
Default:

Wide:

- Use Settings to customize the video:

Settings Tab
- Video Link: Replace the sample link with the link to the YouTube, Vimeo, or Dailymotion video you want to display on your site.
- Autoplay: Select Autoplay to play the video when visitors access the page. If the Autoplay is disabled, visitors must click the video to start it.
- Allow Full Window: Leave selected to allow users to display the video on the full screen. Deselect to retain the size of the video's placeholder:

Design Tab
- Theme: Choose the Progress Bar color (white or red) for a video.
- Preview: Set the video Preview:

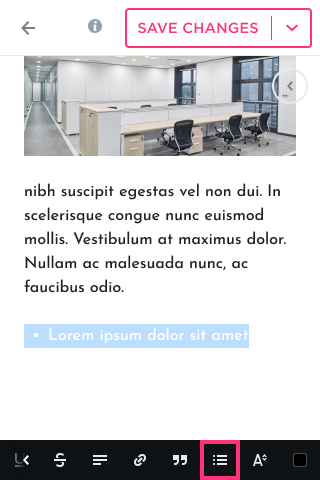
Adding Unordered List
- Add the Unordered List to your blog post by clicking on its icon on the Toolbar:


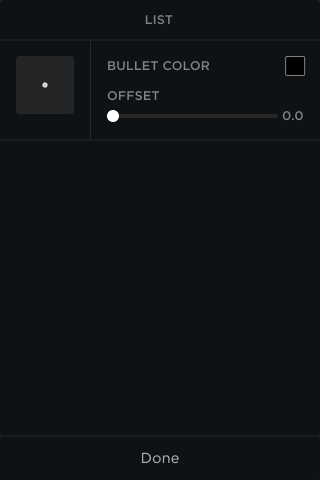
- Modify the List using the Toolbar:

- Modify the Bullet Style:
Adding Ordered List
- Add the Ordered List to your blog post by clicking on its icon on the Toolbar:

Adding Blockquote
- Add the Blockquote by clicking on its icon on the Toolbar:

- Modify the Blockquote by using the Toolbar Settings:

- Click the Blockquote icon again to apply the second quote style:

Adding Divider
- Add the Horizontal Line between other features on the page:

- Use the Toolbar to modify the Divider by clicking on it:

Adding Spacer
- Select Spacer by clicking on its icon on the Toolbar:

- Hover over the item to modify the Spacer:
